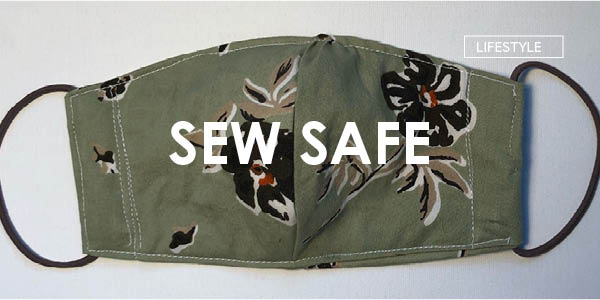
Sew Safe
A step-by-step tutorial for making DIY masks.
Face masks are becoming an essential part of daily fashion, so what’s a better skill than knowing how to make one yourself? Making your own masks allows you to choose your own prints and designs, coordinate those designs to match with your outfits, and make any adjustments you need to for a perfect fit. Check out this simple tutorial.
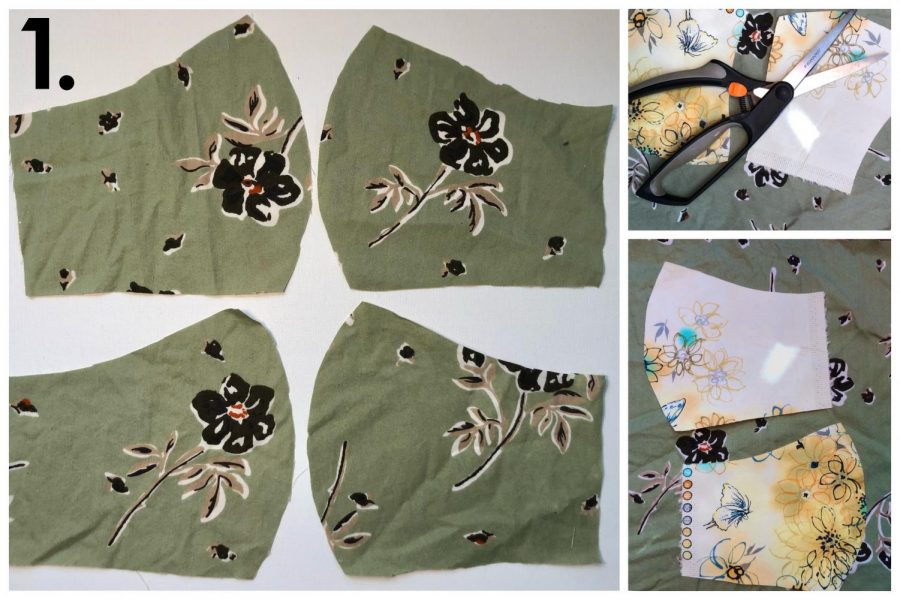
Step 1
Cut out two copies from each side of a mask template so that you end up with four pieces total, two sets that mirror each other, for each side of the mask. This will ensure that the mask is thick enough to be effective as well as having a reversible front and back.
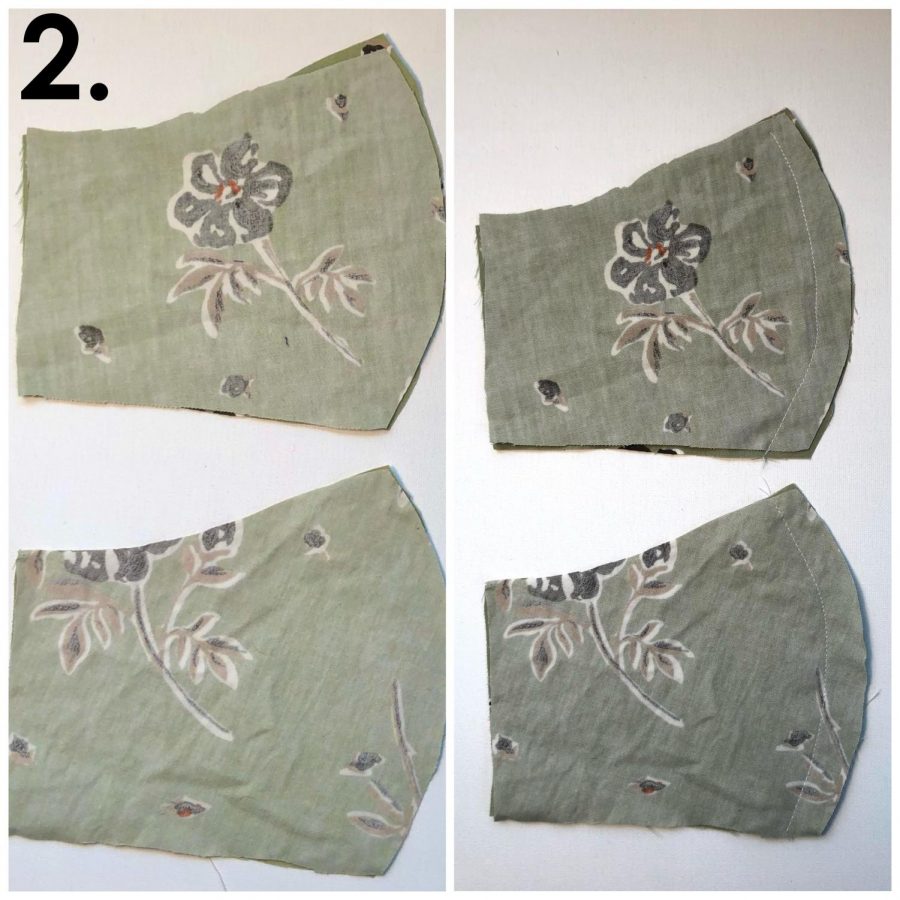
Step 2
Match both of the pretty sides together and sew up the rounded edge on each piece. The type of stitch on this step does not matter as much because it won’t be seen, and it can be angled to allow for a smaller face shape or bigger nose shape.
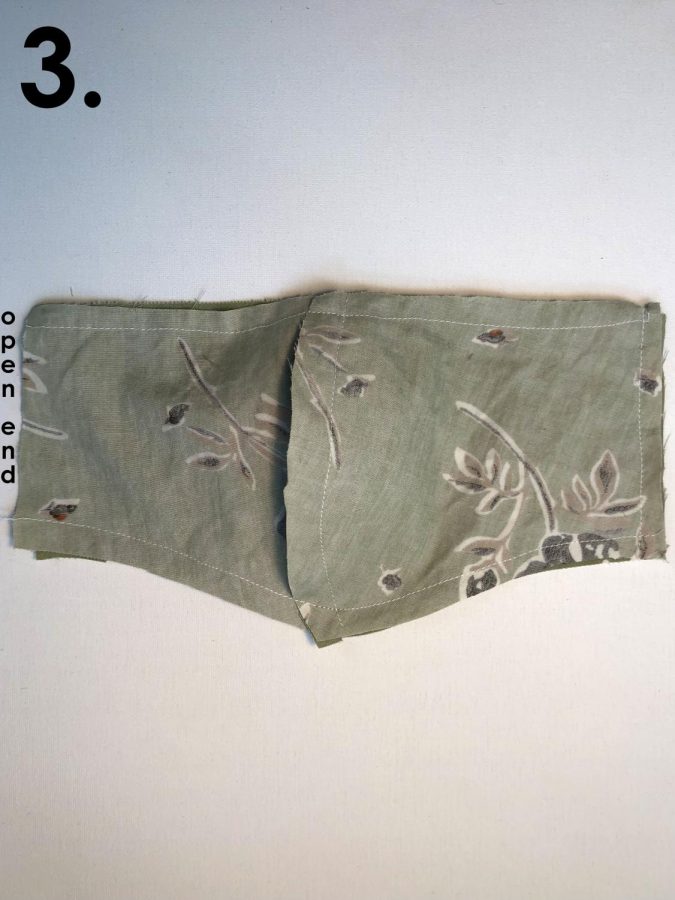
Step 3
With the pretty sides still facing each other so that the mask looks inside out, sew around all of the edges of the mask except for one, preferably one of the short ends. This will be the space to turn the mask right side out. Remember to leave a half-inch seam allowance so the mask is fitted and not boxy, however, this can be widened or shortened depending on face shape.
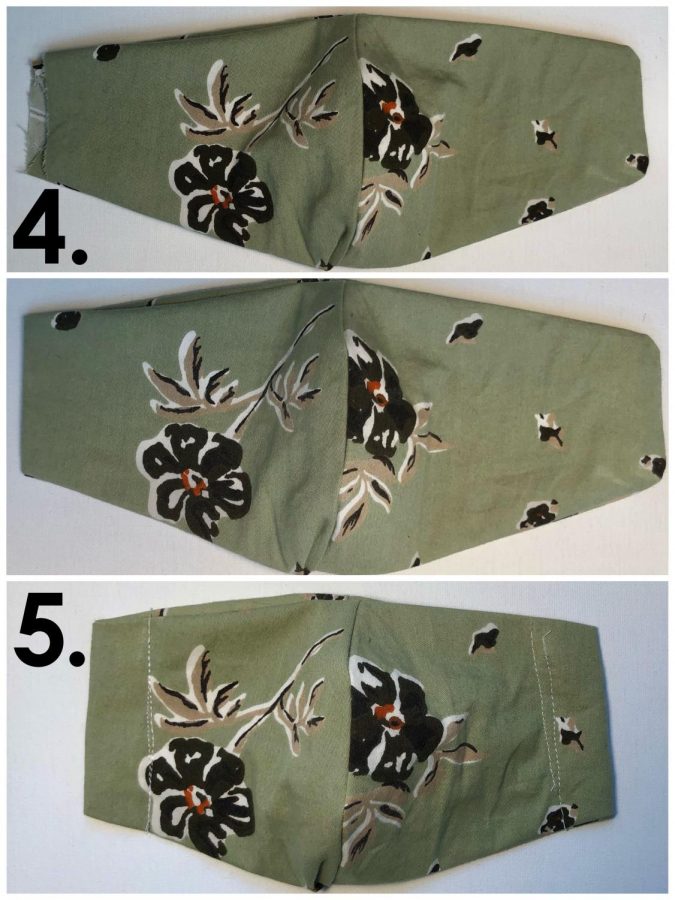
Step 4
Turn the mask inside of itself and once it’s turned fully inside out so that the pretty pattern is facing out, sew up the side that is still open by folding over the raw edge and sewing up the side.
Step 5
After the edges of the mask look even, fold each over about ¾ of an inch and sew up those sides so that it makes a tube, allowing room to slide the elastic pieces through on each side. You can do this just one time or you can do it multiple times over for reinforcement.
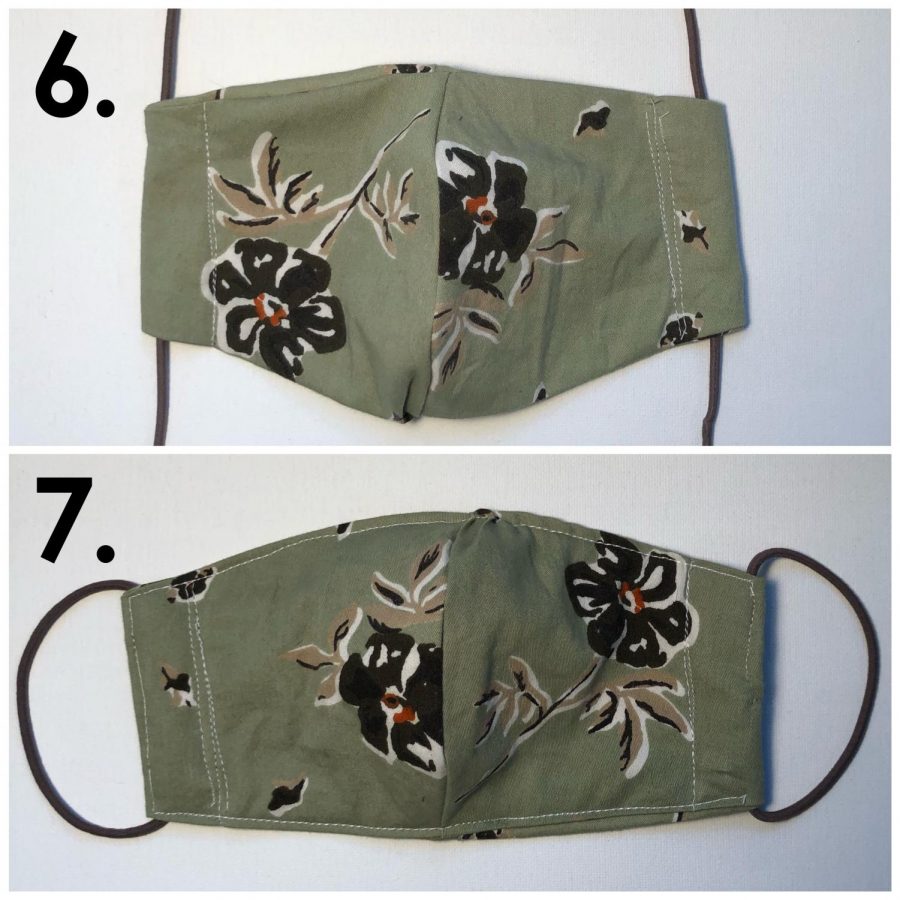
Step 6
Next, slide a 7-8 inch strip of elastic (this can be larger or smaller depending on face size/shape) through each of the tubes you just made, then tie the elastic ends together to make a full loop. Hide the knots inside the tubes so it looks clean, and at this point, it should look and seem like a functional mask.
Step 7
As an optional final touch, you can clean it up with a topstitch around the outside perimeter of the mask for a professional look, and then you’re finished.

What takes up too much of my time?
I would have to say that it is a three-way tie between tiktok, crocheting, and thrifting.
If you had to choose...