In Full Bloom
How to Make a Flower Bouquet
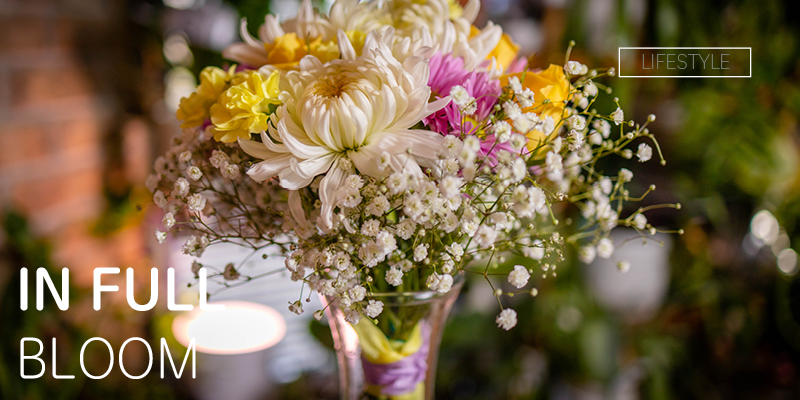
Seeing that springtime is upon us, it is a great season to put together a flower bouquet or arrangement for a loved one. A bouquet can make for a very elegant gift to show your love/appreciation, and it can also be a great way to bring the spring nature inside our homes and brighten the mood. We will see how to properly cut, wrap, and finish a bouquet.
Supplies:
Flower Shears (or a sharp knife, just don’t use office scissors)
Floral Tape
Ribbon
Bucket and water
Vase or other container if applicable
The Process:
You can find flowers at a few different places (think flower specific stores, or garden centers), or you can pick them in the wild. It probably goes without saying that you shouldn’t pick from other people’s gardens without permission, though.
You can totally grow your own flowers too, which may be easier if you have a centerpiece flower in mind that’s a little more obscure, although it will take quite a bit more planning and time.
Start off by deciding on a centerpiece flower that will be the main focus of the bouquet. You can spread out a few of them over the bouquet, but make sure they are prominent (maybe pick a flower that the recipient likes specifically). If your centerpiece flower is small, consider bunching a few of them together and distribute those bunches across the bouquet to give them more volume.
Next, consider what kinds of filler flowers/foliage you want to incorporate (this is where you can start thinking about your color matchups, choose foliage that compliments your main flower to highlight it).
It can be good to add some generic green leafy plants to fill in the space between the flowers and make it more “fluffy” (also remember that you can include more common and neutrally colored flowers to help fill in the bouquet)
Preparation:
First of all, while you are processing your flowers, it is a good idea to keep them in a bucket of water so that you don’t have to lay down the flowers and risk breaking or otherwise damaging them.
Now, start by removing thorns and leaves from the stems. You can just remove them gently with your hands.
Generally the flower should be the only thing on the stem to avoid clutter in the stems, unless the leaves specifically add to your design.
Next, cut your stems down to the size that you want. Cut the stem diagonally instead of straight across.
They should be long enough that they extend about 4-5 inches below your wrapping (7-8 inches below the flower heads).
Now that your flowers are picked out and prepared, it’s time to put them all together. Start with some strong “base” flowers that have tougher stems.
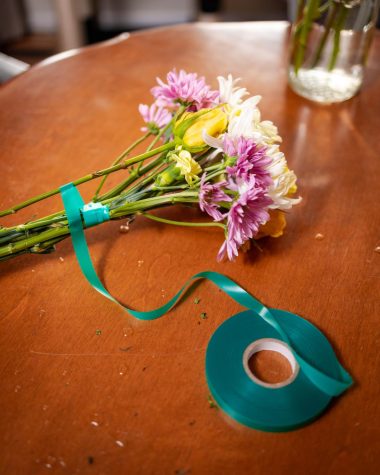
Wrap floral tape around your base stems (about 4-5 inches up from the base of your cut), and then start adding your other flowers and foliage around that. As you add, continue to wrap floral tape around your new stems so that they are all connected by the same piece of tape. This will give the bouquet strength.
Once all of your flowers have been added to the bouquet, finish wrapping the floral tape by wrapping it over itself a few more times.
Once the floral tape has been wrapped, take your ribbon and wrap and tie it to cover up the floral tape. Try to pick a ribbon that adds to your design and compliments the flower’s colors.
And that’s it! Once your bouquet is done, you can give it to your lucky recipient, or you can put it in a vase and keep it in your own home.

What is a catchphrase you always use?
Big dog
If you could only eat one food for the rest of your life what would it be?
I would probably eat...